Everyone knows that regular brushing and flossing are important to good oral hygiene. While brushing is relatively self-explanatory, flossing tends to be a bit more confusing. It’s also the one part of good oral care that many people forget. However, regular flossing is essential to remove bacteria, food particles, and plaque and plays a major role in good oral hygiene. Understanding the different types of dental floss and how to properly floss your teeth is essential, and at Soundview Family Dental, we are here to help make flossing easier.
Key Takeaways
- Types of dental floss: unwaxed, waxed, dental tape, PTFE, super floss, dental flossers.
- Importance of flossing: removes bacteria, food particles, and plaque from between teeth.
- When to floss: at least once a day, before or after brushing, based on personal preference.
- Flossing technique: break off 18-24 inches, wrap around fingers, glide up and down against sides of teeth.
- Flossing with braces: use floss threader, water flosser, or super floss for effective cleaning.

What is dental floss?
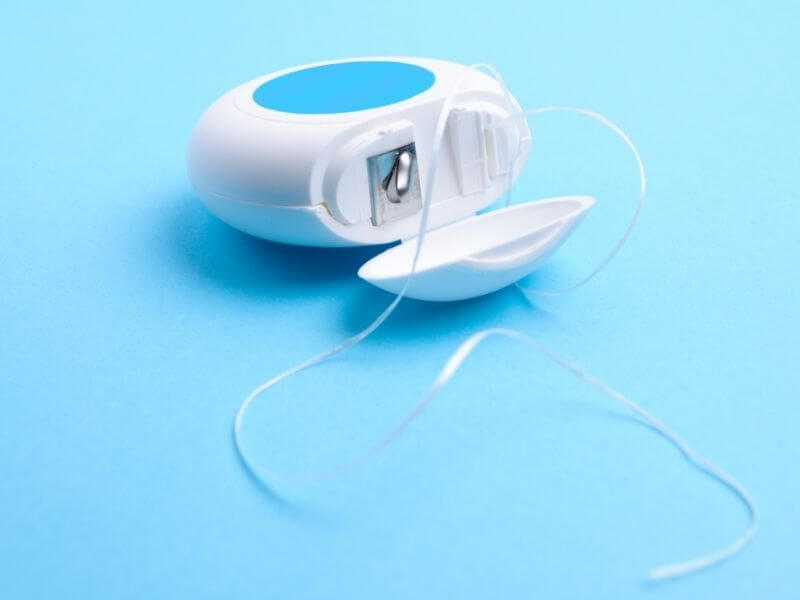
Dental floss comes in many different varieties and forms. These can include waxed, unwaxed, dental tape, polytetrafluorethylene floss (PTFE), super flosses, and even dental flossers. Each one works slightly differently, but with the same goal in mind. To better understand the different types, let’s take a closer look.
- Unwaxed floss – this is a thin nylon floss designed to fit into tight spaces. Unfortunately, unwaxed floss tends to get stuck in between teeth and is very prone to breaking.
- Waxed floss – this is unwaxed floss covered in a light wax coating. The wax coating makes it slide more easily between the teeth, and therefore less prone to breaking, but can also make it harder to get between tight spots.
- Dental tape – this is a broader and flatter type of floss and can come waxed or unwaxed. This type of floss is not good for tight spaces but can be more comfortable for people with more space between their teeth.
- PTFE floss – Made from Gore-Tex fabric, this type of floss slides easily between small spaces between the teeth and is less likely to break.
- Super floss – This is a thicker form of floss with stiff sections on each end. It is designed to help floss and clean around orthodontic appliances and dental bridges.
- Dental flossers – These flossing devices have a handle and a small piece of floss. They are great for children learning how to floss and for those with arthritis who are unable to hold traditional floss.
Why do you need to floss your teeth?
If you brush your teeth regularly, you may wonder if flossing is really necessary. While brushing is great for removing food particles and bacteria on the surface of your teeth, it misses the areas in between your teeth where food particles and bacteria tend to hide. Flossing enables you to reach those areas, helping you to remove everything that can contribute to dental decay and damage to your teeth.
When to floss your teeth
While you should brush your teeth at least twice a day, the American Dental Association recommends flossing at least once a day. You can floss before or after brushing, and any time of day. Some people may opt to floss after a meal, while others choose to floss at the end of the day, so they go to bed with a clean mouth. There is no ideal time and when you floss should depend on your schedule and what works best for you. The most important thing is that you remember to do it!

Flossing techniques
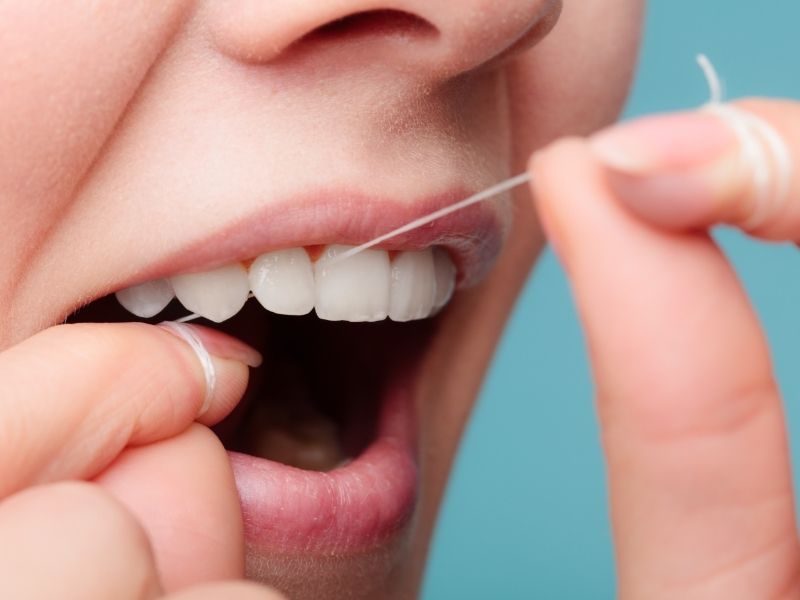
How you floss your teeth depends on a variety of different things, such as what type of floss you are using and whether you have any dental appliances. A general flossing technique is the same for waxed, unwaxed, dental tape, PTFE floss, and dental flossers. Flossing steps are:
- Break off 18 to 24 inches of floss. Wrap the floss around your middle fingers, leaving a space of one to two inches in the middle. Hold the floss between your thumb and index fingers. (skip this step if you are using dental flossers).
- Place the floss between two teeth, gently gliding the floss up and down while rubbing against the side of each tooth. Do not glide the floss against the gums as this can cause damage and bleeding.
- As you get down to the gums, create a curve at the base of your teeth, similar to a “C” shape. This will allow the floss to get into the space between the tooth and the gum without damaging the gums.
- Repeat each of these steps with every tooth in your mouth. Use a clean section of floss for each tooth.
Flossing with braces
Flossing with braces or other dental work can be a challenge. When working around traditional brackets and wires, you must floss with a slightly different technique.
- Thread the floss between the teeth and the main wire.
- Loosely wrap the floss around your index fingers and press the floss between your teeth as gently as possible. Perform the same up and down motion, making sure to rub against the sides of the teeth.
- Unthread the floss from the wire and move on to the next two teeth, continuing until you have done all your teeth
If regular flossing with braces becomes difficult, your dentist may recommend using a water flosser that uses water pressure to clean between the teeth. A floss threader or super floss can also help to achieve the same results while reducing the risk of damage to your dental appliances.
While flossing may seem like a lot of work, it is an essential part of good oral care. If you still have questions or are having difficulty with flossing, contact Soundview Family Dental in Edmonds, Washington, and we will be happy to work with you to help make sure you’re flossing correctly and to help make flossing easier.


